Monday to Saturday - 9:00 am -18:00 pm
Your RAV4 brake lights won’t turn on. Or maybe they won’t turn off. Your car won’t start when you press the brake pedal. The cruise control stopped working.
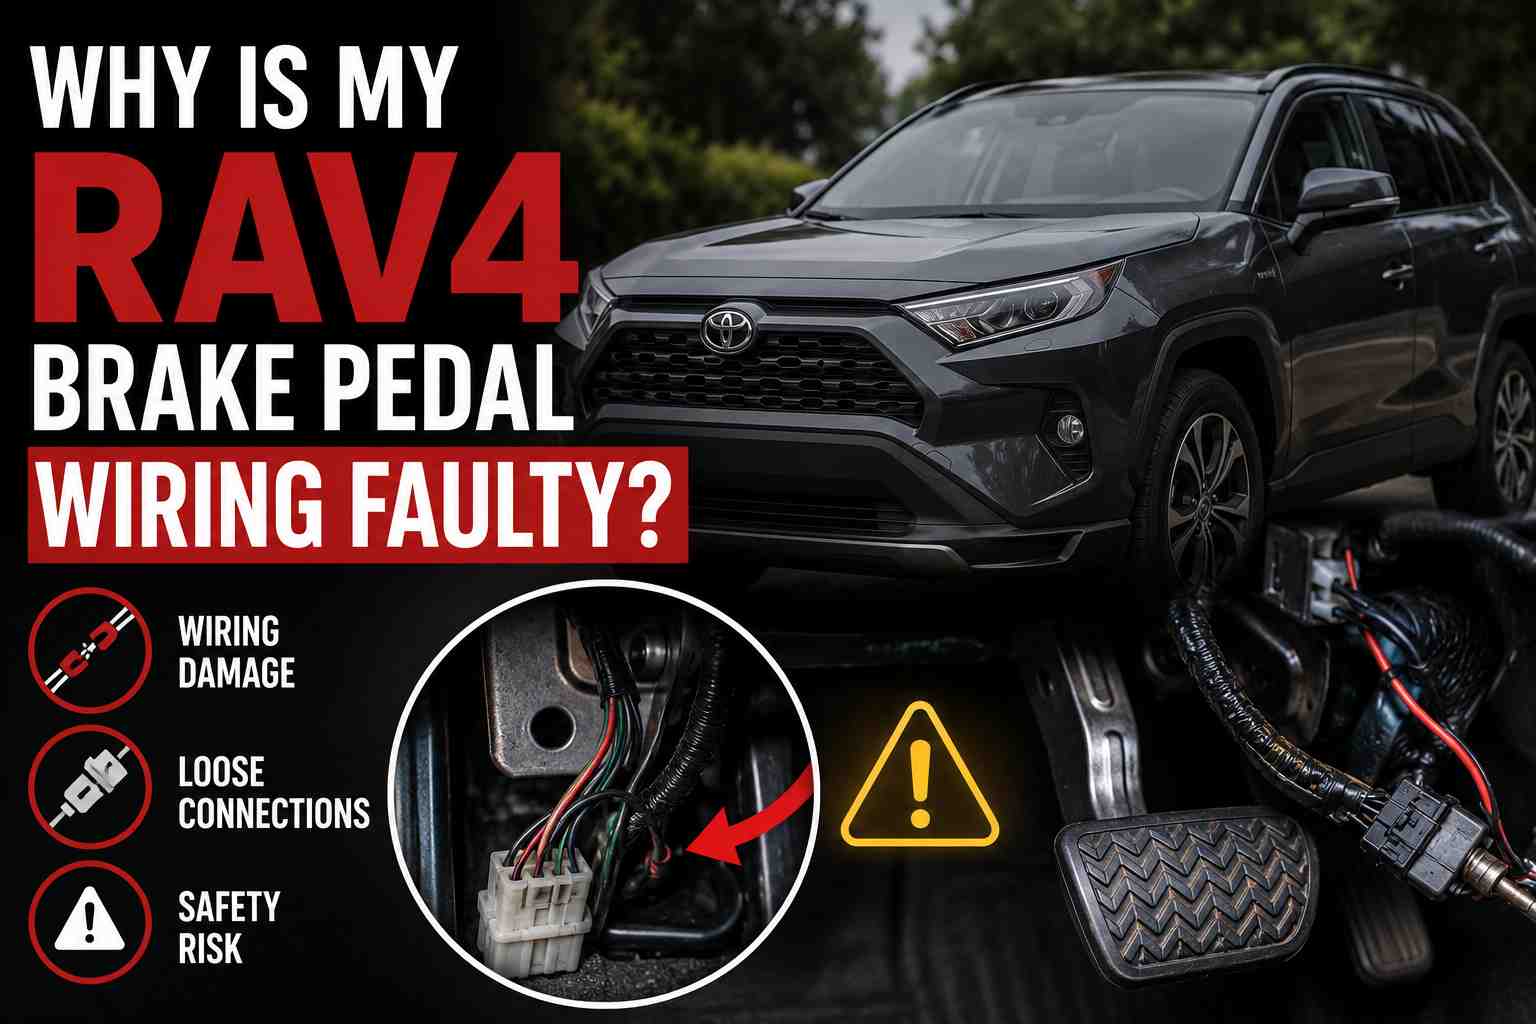
These problems often point to one thing: faulty brake pedal wiring.
I’ve worked on hundreds of RAV4s over the years. Brake pedal wiring issues come up more often than you’d think. The good news? Most fixes are cheaper than you expect.
In this guide, you’ll learn exactly why your RAV4 brake pedal wiring fails. You’ll also learn how to diagnose it yourself and what it costs to fix.
How RAV4 Brake Pedal Wiring Works
Let’s start simple.
When you press the brake pedal, a small switch gets activated. This switch sits behind the brake pedal, near the top. It’s called the brake light switch or stop light switch.
This switch does several important jobs:
- Turns on your brake lights
- Tells the engine computer you’re braking
- Lets you shift out of Park
- Disengages cruise control
- Allows push-button start to work (on newer RAV4s)
The switch connects to your car’s wiring harness. Wires run from the switch to the fuse box, then to other systems.
On newer RAV4s (2013 and up), there are actually two switches. One is the brake light switch. The other is the brake pedal load sensing switch. Both send signals to different computers in your car.
When any of this wiring fails, multiple systems can act up at once.
Common Symptoms of Faulty Brake Pedal Wiring
Your RAV4 will show clear signs when brake pedal wiring goes bad.
Brake Lights Don’t Work
This is the most obvious symptom. You press the pedal, but no brake lights come on. Other drivers can’t see you slowing down. This is dangerous.
Sometimes only one or two brake lights fail. But if all three lights stop working, the switch or its wiring is usually the problem.
Brake Lights Stay On
The opposite problem. Your brake lights stay lit even when you’re not touching the pedal. This drains your battery overnight. It also confuses drivers behind you.
Car Won’t Start
Modern RAV4s need to sense the brake pedal before they start. If the wiring can’t send that signal, pressing the start button does nothing.
You might hear a click. The dashboard lights up. But the engine won’t crank.
Can’t Shift Out of Park
Your RAV4 has a safety feature called shift interlock. It keeps you from shifting out of Park unless you press the brake.
Bad wiring can prevent this signal from reaching the transmission. Your gear shifter feels stuck.
Cruise Control Stops Working
Cruise control depends on the brake switch signal. When you tap the brake, cruise should turn off. If the wiring is faulty, the car may disable cruise entirely.
You might see a warning light or get an error code.
ABS, VSC, or Brake Warning Lights
These dashboard lights can appear when brake pedal wiring fails. The car’s computer sees conflicting signals and throws a warning.
Common codes include C1249 (stop lamp switch circuit open) and P0571 (brake switch circuit malfunction).
Turn Signals Act Strange
This is a weird one. Some RAV4 owners report that pressing the brake makes their turn signal come on. Or the brake lights trigger the wrong bulb.
This usually means crossed wires somewhere in the harness.
Top Causes of RAV4 Brake Pedal Wiring Problems
Brake pedal wiring doesn’t just fail randomly. Here are the real reasons.
1. Worn or Failed Brake Light Switch
The switch itself wears out over time. Every time you brake, this switch activates. After thousands of cycles, the internal contacts degrade.
Toyota brake light switches have a plunger that touches the brake pedal lever. If the plunger breaks or sticks, the switch fails.
This is the most common cause of brake pedal wiring symptoms.
2. Corroded Connectors
Electrical connectors near the brake pedal area can corrode. The floor area collects moisture from rain, snow, and wet shoes.
Salt from winter roads makes corrosion worse. The connector pins turn green and stop making good contact.
RAV4 Hybrid owners have reported major corrosion issues on high-voltage cables. While that’s a different system, it shows how vulnerable Toyota wiring can be to moisture.
3. Damaged Wiring Harness
Wires can get pinched, rubbed, or chewed by rodents. The harness runs behind the dashboard and along the body of the car.
If you’ve had any work done under the dash, someone might have accidentally damaged the wires.
4. Blown Fuse
A simple blown fuse can cause all these symptoms. The brake light circuit has its own fuse. When it blows, everything connected to that circuit stops working.
Check the STOP fuse in your fuse box first. It’s a quick and free fix if that’s the problem.
5. Bad Ground Connection
Every electrical circuit needs a ground. The brake light circuit grounds to the vehicle body at specific points.
If that ground connection gets loose or corroded, the circuit fails. This often causes strange symptoms like lights flickering or dim bulbs.
6. Aftermarket Wiring Issues
Did you install a trailer hitch with wiring? Or add an aftermarket alarm? Aftermarket wiring often taps into the brake light circuit.
Poor connections or wrong wiring can cause shorts and failures.
7. Wrong Bulbs Installed
This sounds simple, but it happens a lot. If someone installed the wrong bulb type, the circuit may not work correctly.
RAV4 brake lights often use dual-filament bulbs. Single-filament bulbs look similar but don’t work the same way.
How to Diagnose Brake Pedal Wiring Issues
You can narrow down the problem before visiting a mechanic.
Start with the Easy Stuff
Check your brake light fuse first. Your owner’s manual shows the fuse location. Look at the fuse and see if the metal strip inside is broken.
If the fuse is good, move on.
Check the Brake Light Switch
The switch is located behind the brake pedal, up near the top. You’ll need to look under the dashboard.
Press and release the brake pedal while watching the switch. You should hear a click as it activates.
Have someone watch your brake lights while you press the pedal. This tells you if the switch is working.
Look for Obvious Damage
Inspect the wiring around the brake pedal. Look for loose connectors, broken wires, or signs of corrosion.
Check the bulb sockets in your tail lights too. Corrosion here can cause similar symptoms.
Check for Trouble Codes
If you have an OBD-II scanner, plug it in. Brake-related codes can point you to the exact problem.
Common codes to look for:
- P0571: Brake Switch A Circuit
- C1249: Stop Lamp Switch Circuit Open
- C1267: Brake Pedal Load Sensing Switch
Step-by-Step Testing with a Multimeter
A basic multimeter lets you test the brake light switch yourself. Here’s how.
Tools You Need
- Digital multimeter
- Basic hand tools to access the switch
- A helper (optional but useful)
Test 1: Check for Power at the Switch
- Set your multimeter to DC voltage (20V range)
- Find the brake light switch connector
- Turn the ignition to ON (don’t start the engine)
- Probe the connector terminals while referencing your manual for which wire is power
- You should see battery voltage (around 12V) on the power wire
If there’s no voltage, the problem is upstream. Check the fuse and wiring to the switch.
Test 2: Check Switch Continuity
- Disconnect the brake light switch connector
- Set your multimeter to continuity or resistance (ohms)
- Press the brake pedal
- Probe the switch terminals
- You should see continuity (low resistance) when the pedal is pressed
- Release the pedal—continuity should break
If the switch shows no continuity when pressed, it’s bad. Replace it.
Test 3: Check the Ground
- Find the ground wire for the brake light circuit
- Set your multimeter to resistance
- Connect one probe to the ground wire terminal
- Connect the other probe to a clean metal surface on the car body
- You should see very low resistance (near 0 ohms)
High resistance means a bad ground connection.
Repair Options and Costs
Most brake pedal wiring repairs are affordable. Here’s what to expect.
Brake Light Switch Replacement
This is the most common fix.
- Part cost: $15 to $45
- Labor cost: $55 to $85
- Total: $96 to $127 on average
Some RAV4 owners replace the switch themselves. It’s not too difficult if you’re comfortable working under the dashboard.
Wiring Harness Repair
If wires are damaged, a mechanic may need to repair or splice them.
- Labor cost: $75 to $200 depending on damage
- Part cost: Minimal for splices, more for connector replacement
Severe harness damage might require partial harness replacement. That gets expensive.
Connector Cleaning
Corroded connectors can often be cleaned.
- DIY cost: Under $10 for electrical contact cleaner
- Shop cost: Often included in diagnostic fee
Applying dielectric grease after cleaning helps prevent future corrosion.
Fuse Replacement
If it’s just a blown fuse, you’re looking at a couple dollars. But find out why the fuse blew. There might be a short somewhere.
Ground Wire Repair
Cleaning or tightening a ground connection is usually cheap.
- DIY cost: Free to minimal
- Shop cost: $50 to $100
Common Mistakes Drivers Make
I see these mistakes all the time. Avoid them.
Ignoring the Problem
Some drivers keep driving with no brake lights. This is illegal and dangerous. Other drivers can’t see you braking. You will get a ticket or cause an accident.
Replacing Parts Without Testing
Don’t just throw parts at the problem. I’ve seen people replace the switch, the bulbs, and the fuse without fixing anything.
Test each component first. Find the actual problem.
Using Wrong Bulbs
When replacing brake light bulbs, use the correct type. Check your owner’s manual. Using single-filament bulbs instead of dual-filament causes problems.
Skipping the Fuse Check
Always check the fuse first. It takes 30 seconds. Many people waste hours troubleshooting when a $2 fuse was the answer.
DIY Wiring Without Experience
If you’re not comfortable with electrical work, don’t guess. Bad wiring repairs can cause shorts, fires, or more damage.
Ignoring Warning Lights
Dashboard warning lights exist for a reason. If your ABS or brake light comes on, get it checked. These systems protect you.
FAQ
Why do my RAV4 brake lights stay on when the car is off?
The brake light switch is likely stuck or misadjusted. The switch has a plunger that should release when you take your foot off the pedal. If the plunger is stuck or out of position, the lights stay on.
Check the small plastic piece that contacts the brake pedal. It sometimes falls off or breaks.
Can I drive my RAV4 if the brake lights don’t work?
No. Driving without working brake lights is illegal in all US states and UK regions. It’s also extremely dangerous. Get the problem fixed before driving.
How do I reset my RAV4 after replacing the brake light switch?
Most RAV4s don’t need a reset. Once you install a working switch, the system should work normally. If you have lingering warning lights, disconnecting the battery for 15 minutes may clear them.
If codes persist, you may need a scan tool to clear them.
Why won’t my RAV4 start when I press the brake?
The car doesn’t recognize that you’re pressing the brake. This is usually a faulty brake light switch or wiring issue. Check the switch first. Also check for a weak battery, as low voltage can cause similar symptoms.
How long does a Toyota brake light switch last?
Most switches last 100,000 miles or more. But they can fail earlier, especially in stop-and-go traffic where you brake frequently.
Can a bad brake light switch drain my battery?
Yes. If the switch keeps your brake lights on constantly, your battery will drain. Overnight, you might not be able to start the car.
What does code P0571 mean on my RAV4?
This code means the engine computer detected a problem with the brake switch circuit. The switch itself may be bad, or there’s a wiring issue. Test the switch and check connectors.
Is this covered under Toyota warranty?
Standard brake light switches are not typically covered under the basic warranty unless the vehicle is very new. Check with your dealer. Hybrid RAV4 owners may have extended coverage for certain electrical issues.
Conclusion
RAV4 brake pedal wiring problems are common but fixable. The brake light switch causes most of these issues. It’s a cheap part that’s easy to replace.
Here’s what to do next:
- Check your brake light fuse first
- Inspect the brake light switch under the dashboard
- Test with a multimeter if you have one
- Replace the switch if it tests bad
- Check all connectors for corrosion
If you’re not comfortable doing this work yourself, take your RAV4 to a trusted mechanic. A proper diagnosis usually costs $75 to $100. That’s worth it to fix the problem right.
Don’t drive with faulty brake lights. It’s not worth the risk.
Mechanic Voice provides practical car advice for everyday drivers. Our experts have decades of hands-on experience with Toyota vehicles.