Monday to Saturday - 9:00 am -18:00 pm
The Mazda CX-5 is already a solid SUV right out of the factory. But I’ve worked on hundreds of these vehicles in my shop. And I can tell you—there’s always room to make it better.
Whether you want more power, better looks, or just practical upgrades, the right mods can transform your CX-5. Let me walk you through the best options I’ve seen work over the years.
Why Modify Your Mazda CX-5?
Before we dive into specific upgrades, let’s talk about why you’d want to modify your CX-5 in the first place.
Better Performance: Stock settings are built for the average driver. You can squeeze out more power and efficiency with smart upgrades.
Personal Style: Your CX-5 should reflect your personality. Cosmetic mods help you stand out from the crowd.
Improved Functionality: Some add-ons simply make daily driving easier and more comfortable.
From years under the hood, I’ve learned one thing. The best mods are the ones you’ll actually use every day.
Performance Upgrades That Actually Work
Cold Air Intake Systems
A cold air intake is one of the first mods I recommend to CX-5 owners.
Here’s why it works. Your engine needs air to burn fuel efficiently. The factory airbox restricts airflow. A good cold air intake pulls in cooler, denser air from outside the engine bay.
Benefits you’ll notice:
- Slight horsepower increase (5-10 HP typically)
- Better throttle response
- Improved engine sound
- Potential fuel economy gains
In my shop, I’ve installed dozens of K&N and AEM intake systems on CX-5s. Both brands deliver real results. Installation takes about an hour if you have basic tools.
One tip from experience: Make sure you get a system with a heat shield. Without it, you’re just sucking in hot engine air. That defeats the whole purpose.
Performance Exhaust Systems
An aftermarket exhaust does two things. It reduces backpressure and gives your CX-5 a more aggressive sound.
The stock exhaust on the CX-5 is pretty restrictive. When I service a car like this, I often see how much the factory system holds back the engine.
Popular options I’ve worked with:
- Borla cat-back systems
- Magnaflow exhaust kits
- Corksport performance exhaust
You’re looking at a 5-8 horsepower gain with most quality systems. Plus, your CX-5 will sound much sportier during acceleration.
Fair warning though. Some exhaust systems can be too loud for daily driving. I always tell customers to watch YouTube videos first. Make sure you like the sound before you buy.
ECU Tuning and Chip Upgrades
This is where things get interesting. ECU tuning reprograms your engine’s computer for better performance.
In basic terms, your car’s computer controls fuel delivery, ignition timing, and turbo boost pressure. The factory settings are conservative. A good tune optimizes these parameters.
Two main options:
- Handheld tuners (like OrangeVirus or Versatune)
- Professional dyno tuning
From my experience, handheld tuners are easier for most people. You can install and uninstall tunes yourself. Professional dyno tuning costs more but gives you custom results for your specific vehicle.
Most CX-5s see 15-25 horsepower gains from tuning alone. Turbocharged models see even better results.
Just remember: Tuning can affect your warranty. Talk to your dealer first if your vehicle is still covered.
Upgraded Suspension Components
The stock CX-5 suspension is comfortable but soft. If you want sharper handling, suspension upgrades are the answer.
I’ve installed three main types of suspension mods:
Lowering Springs: These drop your CX-5 by 1-2 inches. You get better handling and a sportier look. Eibach and H&R make quality springs for the CX-5.
Coilovers: These replace your entire shock and spring assembly. You can adjust ride height and stiffness. They’re more expensive but give you total control. BC Racing and KW make excellent coilover kits.
Sway Bars: These reduce body roll in corners. I particularly like Corksport’s sway bar kit. It makes a huge difference without affecting ride quality.
One thing to note: Lowering your CX-5 will make the ride stiffer. It’s not for everyone. Think about how you use your vehicle daily.
High-Performance Brake Upgrades
Better brakes mean safer driving. Especially if you’ve added more power to your CX-5.
The factory brakes on the CX-5 are decent. But they fade under hard use. I’ve seen this countless times on track days and mountain driving.
Upgrade options I recommend:
- Performance brake pads (EBC, Hawk, or PowerStop)
- Slotted or drilled rotors
- Stainless steel brake lines
- High-temperature brake fluid
You don’t need to replace everything at once. Start with good brake pads. That’s where you’ll see the biggest improvement.
I personally use EBC RedStuff pads on customer vehicles. They handle heat better and provide stronger stopping power. Plus, they produce less brake dust than stock pads.
Exterior Modifications and Styling
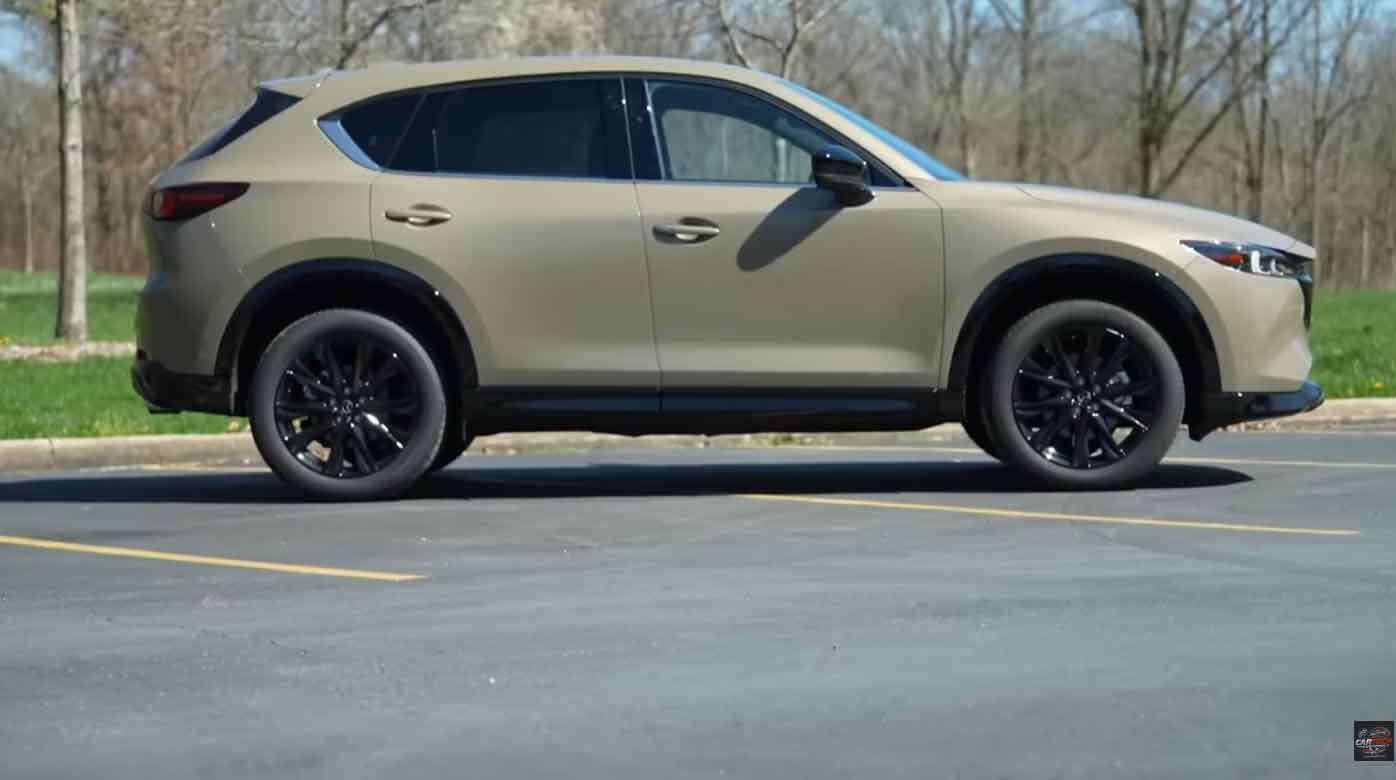
Wheel and Tire Upgrades
New wheels completely change how your CX-5 looks. They’re also one of the most popular mods I see.
When choosing wheels, you need to consider three things:
- Size (18″, 19″, or 20″)
- Offset (how far they sit in or out)
- Weight
Lighter wheels improve acceleration and handling. Heavier wheels look good but hurt performance.
For the CX-5, I usually recommend staying with 18″ or 19″ wheels. Going to 20″ looks awesome but the ride quality suffers. Plus, tires get expensive at that size.
Popular wheel brands:
- Enkei
- Konig
- Motegi
- TSW
For tires, focus on quality over price. Michelin, Continental, and Bridgestone all make excellent options for the CX-5.
One tip from years of experience: Always get an alignment after installing new wheels. It protects your investment and ensures even tire wear.
Body Kits and Aerodynamic Enhancements
Body kits give your CX-5 an aggressive, custom appearance. They also improve aerodynamics at highway speeds.
I’ve installed several types over the years:
Front Lip Spoilers: These attach to your front bumper. They reduce front-end lift and make the CX-5 look lower. Easy to install with basic tools.
Side Skirts: These run along the bottom of your doors. They create a visual connection between the front and rear. Most use 3M tape for installation.
Rear Diffusers: These go under the rear bumper. They help smooth airflow underneath the vehicle.
Roof Spoilers: A small wing on the rear window. It adds a sporty touch without being too flashy.
Corksport makes a complete body kit for the CX-5. I’ve installed it multiple times. The quality is excellent and fitment is spot-on.
Just be careful with extremely low ground effects. You’ll scrape them on speed bumps and steep driveways. I’ve repaired too many damaged kits from customers who went too aggressive.
Window Tinting and Chrome Delete
Window tint isn’t just about looks. It blocks harmful UV rays and keeps your interior cooler.
In my area, legal tint limits vary. Check your local laws before you go too dark. Most states allow 35% on the front sides and any darkness on the rear.
Professional installation costs $200-400 depending on your location. It’s worth paying for quality work. Cheap tint jobs bubble and peel within a year.
Chrome delete is another popular mod. It involves wrapping or painting chrome trim pieces black. The CX-5 has chrome around the windows and grille. Blacking these out creates a sleek, modern look.
You can DIY chrome delete with vinyl wrap. Or have a professional do it for $300-500. The choice depends on your skill level and patience.
LED Lighting Upgrades
LED lights are brighter, last longer, and use less power than stock bulbs. They’re one of the easiest upgrades you can make.
Areas to upgrade:
- Headlights (low beam and high beam)
- Fog lights
- Interior dome lights
- License plate lights
- Reverse lights
I always recommend quality LED brands like Philips, AUXITO, or Fahren. Cheap LEDs from Amazon often flicker or die quickly.
Installation is simple for most bulbs. Just twist out the old one and pop in the new one. The whole job takes maybe 30 minutes.
One important note: Some LED headlight bulbs can blind oncoming drivers. Make sure you get bulbs designed for reflector or projector housings. Whichever your CX-5 has.
Interior Comfort and Tech Upgrades
All-Weather Floor Mats and Liners
Factory floor mats look nice but they don’t protect well. Especially if you live somewhere with snow, mud, or rain.
WeatherTech and Husky Liners make custom-fit floor mats for the CX-5. I’ve used both brands in my personal vehicles.
These mats have raised edges that contain spills and dirt. They’re made from thick rubber or thermoplastic. You can hose them off when they get dirty.
Installation is instant. Just remove your old mats and drop these in. They’re held in place by factory retention clips.
The investment is $150-200 for a full set. But they’ll protect your carpet for the life of the vehicle. That helps maintain resale value.
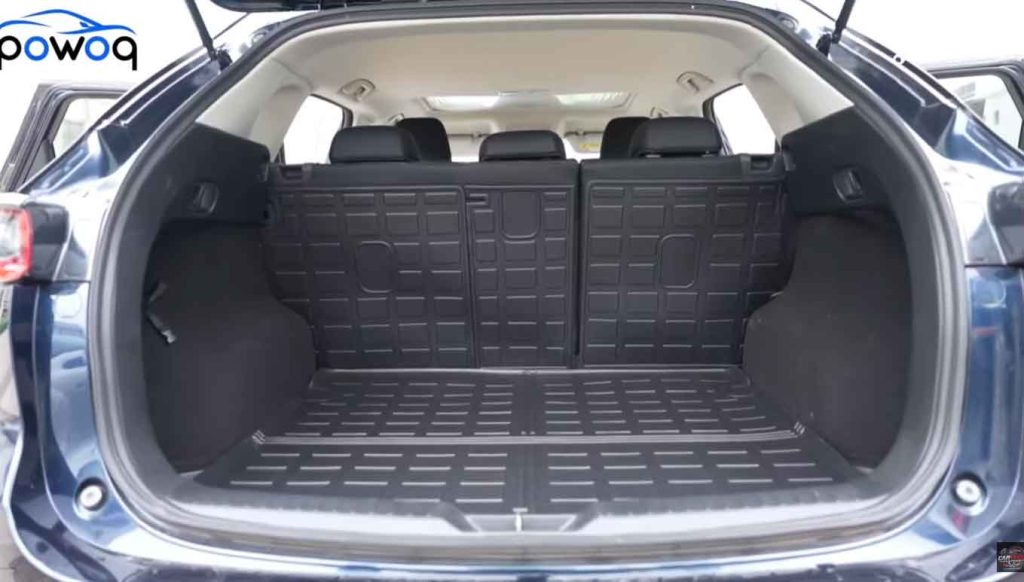
Cargo Management Solutions
The CX-5 has decent cargo space. But you can make it much more organized with the right accessories.
Options I’ve seen work well:
- Cargo trays (similar to floor liners)
- Collapsible cargo organizers
- Cargo nets and tie-downs
- Under-floor storage bins
Mazda sells OEM cargo accessories that fit perfectly. Third-party brands like 3D MAXpider also make quality options.
One upgrade I really like is a cargo divider. It keeps your groceries from sliding around during turns. Simple but effective.
If you haul sporting equipment or tools regularly, consider a roof cargo box or hitch cargo carrier. They free up interior space while adding serious carrying capacity.
Upgraded Infotainment and Audio
The CX-5 infotainment system is okay. But it’s not great compared to newer systems.
If you have an older CX-5, you can add Apple CarPlay and Android Auto. Several companies make retrofit kits. Installation requires removing the dashboard and connecting to the vehicle’s CANBUS system.
I’ve done this upgrade in my shop. It’s moderately complex. Plan on 3-4 hours if you’re DIY-ing it. Or pay a professional $200-300 for installation.
For audio upgrades, start with the speakers. The factory speakers are weak. Replacing them with Kicker, JBL, or Pioneer speakers makes a huge difference.
If you want serious bass, add a powered subwoofer. Kicker makes hide-away subs that fit under the seat. They add punch without taking up cargo space.
Seat Covers and Interior Protection
Quality seat covers protect your original upholstery. They’re especially useful if you have kids, pets, or an active lifestyle.
I personally recommend neoprene or leatherette covers. They’re durable, easy to clean, and look professional.
Top brands I’ve seen:
- Covercraft
- Coverking
- FH Group
- Carhartt (if you need heavy-duty protection)
Installation varies by brand. Some covers slip on in minutes. Others require tucking and strapping. Either way, it’s a straightforward DIY job.
Don’t forget about steering wheel covers and sunshades. Small touches like these keep your interior looking new longer.
Practical Add-Ons for Daily Driving
Roof Racks and Crossbars
Roof racks expand your carrying capacity dramatically. I’ve helped customers mount bikes, kayaks, skis, and cargo boxes on their CX-5s.
Mazda sells OEM crossbars that integrate perfectly with the factory roof rails. They’re pricey at $200-300 though.
Thule and Yakima make universal crossbars that fit the CX-5. They cost less and work just as well. I’ve used both brands without issues.
Once you have crossbars, you can add specific carriers:
- Bike racks
- Kayak carriers
- Ski/snowboard holders
- Cargo baskets
- Cargo boxes
Just watch your overall height. The CX-5 with a roof box won’t fit in some parking garages. I learned that the hard way with my own vehicle.
Towing Accessories
The CX-5 can tow up to 2,000 pounds when properly equipped. That’s enough for small trailers, jet skis, or utility trailers.
You’ll need an aftermarket hitch installed first. Curt, Draw-Tite, and Reese all make hitches for the CX-5. Installation takes 1-2 hours with basic hand tools.
Once you have a hitch, you can add:
- Trailer wiring harness
- Ball mount and ball
- Trailer brake controller (for heavier loads)
- Hitch cargo carrier
- Bike rack
From my experience, most CX-5 owners don’t need serious towing capacity. But having a hitch for a bike rack or cargo carrier is incredibly useful.
Just remember: Towing affects fuel economy and puts extra strain on your transmission. Don’t exceed the 2,000-pound limit.
Mud Flaps and Splash Guards
Mud flaps are simple but effective. They protect your paint from road debris and stone chips.
The CX-5 kicks up a lot of dirt and rocks without mudflaps. I see this damage all the time when customers bring their vehicles in.
Rally Armor and WeatherTech make the best mudflap sets for the CX-5. They’re made from flexible rubber or urethane. Installation uses existing screw holes in most cases.
You’re looking at $50-80 for a set of four. Installation takes 30 minutes. It’s one of the best bang-for-buck mods you can make.
Plus, they look good. The contrast color options give your CX-5 a rally-inspired appearance.
Dashcams and Safety Equipment
A good dashcam protects you in accidents and captures unexpected moments on the road.
I recommend dual-channel dashcams. They record both front and rear views. Brands like BlackVue, Thinkware, and Viofo make reliable options.
Features to look for:
- 1080p or 4K resolution
- Night vision capability
- Parking mode recording
- G-sensor for automatic incident detection
- WiFi for easy video download
Installation involves running wires from the camera to your fuse box. This keeps the camera powered without draining your battery. It’s a clean install when done right.
I also suggest a first aid kit and emergency roadside kit. Keep them in your cargo area. You’ll hope you never need them but be grateful if you do.
Budget-Friendly Modifications
Not everyone can drop thousands on mods. Here are upgrades that give you great results without breaking the bank.
Under $100 Modifications
Interior LED Bulbs ($20-40): Replace all your interior lights with LEDs. Instant improvement in visibility and appearance.
License Plate Frame and Covers ($15-30): Small detail that adds personality.
Air Freshener and Interior Detailing ($30-50): Sometimes a deep clean and fresh scent make the biggest difference.
Touch-Up Paint ($15-25): Fix small chips before they rust.
Tire Pressure Monitoring System Caps ($20): Make checking tire pressure easier.
$100-$500 Range
Quality Floor Mats ($150-200): Already mentioned but worth repeating. Great value.
Window Tinting ($200-400): Big visual impact and practical benefits.
Mudflaps ($50-80): Protect your paint for years.
Shift Knob Upgrade ($50-150): Changes the feel of every drive.
Ambient Interior Lighting Kit ($30-100): Add color-changing LED strips under the dashboard and seats.
DIY vs. Professional Installation
Some mods you can easily do yourself. Others require professional help.
Easy DIY projects:
- Floor mats
- Seat covers
- Interior LED bulbs
- Mudflaps
- Shift knobs
- Wiper blades
Moderate DIY projects:
- Cold air intake
- Exhaust systems (with a lift)
- Roof rack installation
- Dashcam hardwiring
Professional recommended:
- ECU tuning
- Suspension work
- Body kit installation
- Window tinting
- Major audio upgrades
I always say: If you’re not comfortable doing something, pay a professional. A botched DIY job often costs more to fix than it would have cost to do right the first place.
Common Mistakes to Avoid
After working on CX-5s for years, I’ve seen people make the same mistakes repeatedly.
Mistake #1: Cheap Parts Budget parts rarely last. They fail early or don’t fit right. Buy quality once instead of cheap twice.
Mistake #2: Ignoring Your Warranty Some mods void your factory warranty. Always check before you install. Or wait until the warranty expires.
Mistake #3: Going Too Aggressive Extremely low ride height looks cool. But it’s not practical. You’ll scrape constantly and hate it.
Mistake #4: Mismatched Mods Your mods should work together. Don’t put racing suspension on a stock engine. Build your vehicle with a plan.
Mistake #5: Skipping Professional Help Some jobs need special tools or expertise. Suspension alignment and ECU tuning are good examples. Don’t risk your vehicle trying to save a few bucks.
Legal Considerations and Regulations
Before you modify your CX-5, understand the laws in your area.
Window Tint: Every state has different limits. Most allow darker tint on rear windows than front ones.
Exhaust Noise: Many areas have noise limits. An extremely loud exhaust can get you ticketed.
Ride Height: Some states have minimum ground clearance laws. Check before you lower your vehicle.
Lighting: Certain colored lights are illegal on public roads. Red and blue are usually restricted to emergency vehicles.
Emissions: Removing catalytic converters or installing non-CARB-compliant parts is illegal in many states.
When in doubt, ask your local DMV or a qualified shop. The last thing you want is an expensive ticket. Or worse, failing your vehicle inspection.
Maintenance After Modifications
Modified vehicles need extra attention. Here’s what I tell my customers.
More Frequent Oil Changes: If you’ve added power, change your oil every 3,000-5,000 miles. Use quality synthetic oil.
Watch Your Tires: Lowered suspension and wider wheels wear tires differently. Rotate them every 5,000 miles.
Check Your Alignment: After any suspension work, get an alignment. And check it again in 6 months.
Monitor Fluid Levels: More power means more heat. Check your coolant and transmission fluid regularly.
Keep Records: Document all your modifications. It helps with resale value and troubleshooting.
I’ve seen too many people modify their vehicles and then ignore maintenance. Don’t let that be you.
Final Thoughts from Under the Hood
The Mazda CX-5 is an excellent platform for modifications. Whether you want more performance, better style, or just practical upgrades, there are countless options.
Start with your goals. What do you actually want from your CX-5? Better performance? A unique look? More comfort?
Then build a plan. Don’t just buy random parts because they look cool. Think about how everything works together.
Focus on quality over quantity. A few good upgrades beat a dozen cheap ones every time.
And remember: Your CX-5 is a tool. Modify it to work better for your life. Not to impress strangers at car meets.
From years of working on these vehicles, I can tell you this. The best modified CX-5s are the ones that balance performance, style, and daily usability.
Take your time. Research your options. And enjoy the process of making your CX-5 truly yours.
Frequently Asked Questions
What’s the best first mod for a Mazda CX-5? Start with a cold air intake or quality floor mats. Both give you immediate benefits without major expense.
Will modifying my CX-5 void the warranty? Some mods can void warranty coverage. Powertrain modifications are most likely to cause issues. Check with your dealer before you install anything major.
How much does it cost to modify a CX-5? You can spend anywhere from $500 to $10,000+ depending on your goals. Set a budget and prioritize what matters most to you.
Can I install these mods myself? Many mods are DIY-friendly if you have basic tools and mechanical knowledge. Others require professional installation for best results.
Do performance mods hurt fuel economy? Not necessarily. A cold air intake and tune can actually improve fuel economy if you drive normally. Aggressive driving with any mods will use more fuel though.
What mods increase resale value? Quality wheels, professional window tint, and practical accessories typically add value. Extreme modifications can actually hurt resale.
How often should I service my modified CX-5? More frequently than stock. Plan on oil changes every 3,000-5,000 miles and regular inspections of modified components.
This guide represents years of hands-on experience working with Mazda CX-5 vehicles. Always consult with a qualified mechanic before making major modifications to your vehicle.