Monday to Saturday - 9:00 am -18:00 pm
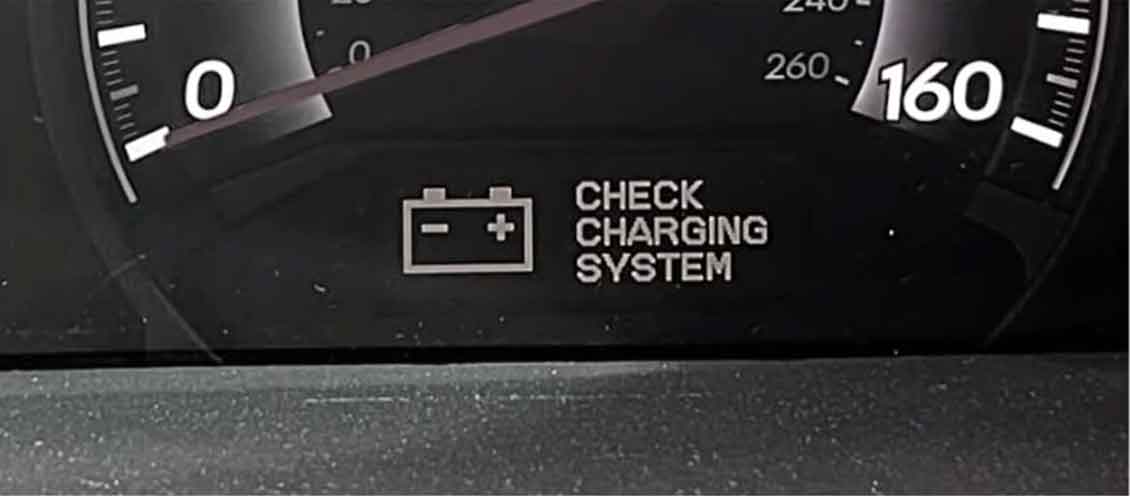
Seeing that “Check Charging System” message pop up on your Ford Explorer dashboard? Don’t panic just yet.
I’ve been fixing these charging problems for over 15 years in my shop. This warning is actually your Explorer’s way of telling you something’s wrong with the electrical system.
In this guide, I’ll walk you through what causes this warning. Then I’ll show you how to fix it step by step.
What Does “Check Charging System” Mean?
This warning light means your Ford Explorer’s charging system isn’t working right.
Your car needs electricity to run. The alternator creates this electricity while you drive. It also charges your battery at the same time.
When something breaks in this system, the warning appears. Your car is basically saying “Hey, I can’t charge the battery properly.”
From years under the hood, I’ve learned this warning shouldn’t be ignored. Your car might stop running if the battery dies completely.
Common Causes of the Check Charging System Warning
Let me break down the most common problems I see every week.
1. Bad Alternator
The alternator is the main power maker in your car.
It turns the engine’s spinning motion into electricity. When it fails, your battery can’t recharge.
Signs of a failing alternator:
- Dim headlights when idling
- Flickering dashboard lights
- Strange whining noises from under the hood
- Battery keeps dying even after charging
In my shop, bad alternators cause about 60% of these warnings. They usually last 80,000 to 150,000 miles before wearing out.
2. Weak or Dead Battery
Your battery stores electricity for starting the car.
Even with a good alternator, a bad battery triggers this warning. The system detects the battery won’t hold a charge anymore.
Battery warning signs:
- Car struggles to start in cold weather
- Battery is more than 4 years old
- Corroded terminals with white or blue powder
- Swollen battery case
When I service a car like this, I always test the battery first. It’s the cheapest fix, so we rule it out early.
3. Loose or Corroded Battery Connections
Sometimes the fix is super simple.
Loose cable connections stop electricity from flowing properly. Corrosion does the same thing by blocking the metal contact points.
I’ve seen this cause the warning dozens of times. A $5 wire brush and 10 minutes can solve the problem.
4. Damaged Serpentine Belt
The serpentine belt connects your engine to the alternator.
If this belt breaks, slips, or cracks, the alternator stops spinning. No spin means no electricity production.
Check your belt for:
- Cracks across the ribs
- Shiny, glazed appearance
- Missing chunks of rubber
- Squealing noises when starting
From experience, these belts need replacement every 60,000 to 100,000 miles. They’re cheap but critical.
5. Faulty Voltage Regulator
The voltage regulator controls how much electricity the alternator makes.
It keeps the voltage steady at about 13.5 to 14.5 volts. When it fails, you get too much or too little voltage.
This part is usually inside the alternator on Ford Explorers. You can’t replace it separately most times.
6. Wiring Problems
Electrical wires can break, crack, or get damaged.
I’ve found mouse-chewed wires, broken connectors, and corroded grounds countless times. These problems interrupt the electrical flow.
The main ground wire connection is especially important. It’s usually bolted to the engine block or chassis.
7. Computer or PCM Issues
Your car’s computer (PCM) monitors the charging system.
Sometimes the computer itself glitches or gets corrupted. This throws false warnings even when everything works fine.
A software update or computer reset can fix these issues.
How to Diagnose the Problem Yourself
You can check several things before paying for a mechanic.
Let me show you my diagnostic process.
Step 1: Check the Battery Terminals
Pop your hood and locate the battery.
Look at both terminals (the metal posts on top). Are the cables tight? Is there crusty buildup?
What to do:
- Wiggle the cables gently
- If they move easily, they’re loose
- Clean any corrosion with a wire brush
- Tighten the bolts with a 10mm wrench
This takes 5 minutes and costs nothing.
Step 2: Inspect the Serpentine Belt
Find the long rubber belt running around several pulleys.
Look closely at the ribbed side. Shine a flashlight on it if needed.
Red flags:
- Cracks running across the belt
- Missing pieces
- Frayed edges
- Extremely loose tension
If the belt looks bad, replace it soon. Don’t wait for it to break on the highway.
Step 3: Test the Battery Voltage
You’ll need a basic multimeter for this. They cost about $15 at any auto parts store.
Testing process:
- Turn off your car completely
- Set the multimeter to 20V DC
- Touch the red probe to the positive terminal
- Touch the black probe to the negative terminal
- Read the voltage
What the numbers mean:
- 12.6 volts or higher = good battery
- 12.4 to 12.6 volts = battery is okay but getting weak
- Below 12.4 volts = battery needs charging or replacement
This test gives you solid information about battery health.
Step 4: Test Alternator Output
Now start your car and test again.
With the engine running, the voltage should jump up.
With engine running:
- Voltage should read 13.5 to 14.5 volts
- This means the alternator is charging
- Below 13 volts = alternator isn’t charging enough
- Above 15 volts = voltage regulator problem
When I diagnose cars, this test reveals most alternator failures immediately.
Step 5: Load Test the System
Turn on every electrical item in your car.
Headlights, AC, radio, heated seats – everything.
Watch your multimeter while these are running. The voltage should stay above 13 volts.
If it drops below 13 volts, your alternator can’t keep up with demand. It’s failing.
Step 6: Check for Error Codes
Get an OBD2 scanner from any auto parts store.
Most stores will scan your codes for free. You can also buy a basic scanner for $20 to $30.
Common codes for charging problems:
- P0562 = System voltage low
- P0563 = System voltage high
- P2503 = Charging system voltage low
- B1317 = Battery voltage low
These codes point you toward the specific problem.
Professional Repairs You Might Need
Sometimes DIY diagnosis shows you need a mechanic.
Here’s what repairs typically involve.
Alternator Replacement
This is the most common repair I do for this warning.
A certified mechanic can replace an alternator in 1 to 2 hours. The part costs $150 to $400 depending on your Explorer’s year.
Labor usually runs $100 to $200.
The replacement process:
- Disconnect the battery
- Remove the serpentine belt
- Unplug electrical connections
- Remove mounting bolts
- Install new alternator
- Reconnect everything
- Test the system
Total cost: $250 to $600 for most Ford Explorers.
Battery Replacement
Replacing a battery is straightforward and quick.
A quality battery for your Explorer costs $100 to $200. Labor is usually free if you buy from an auto parts store.
They last about 3 to 5 years in normal conditions.
Serpentine Belt Replacement
Mechanics charge $75 to $150 for belt replacement.
The belt itself costs $20 to $40. Labor takes about 30 minutes for an experienced tech.
I always check the belt tensioner too. A weak tensioner causes premature belt wear.
Wiring Repairs
Electrical repairs vary widely based on the damage.
Simple wire splicing costs $50 to $150. Complex harness replacement can run $300 to $800.
Finding the problem takes time. Electrical diagnosis is detailed work.
Can You Drive With This Warning?
Short answer: Not for long.
Your car runs on battery power when the alternator fails. Most batteries last 30 minutes to 2 hours in this situation.
What happens when you keep driving:
- Lights get dimmer
- Radio cuts out
- Engine starts running rough
- Eventually the car stalls completely
From my experience, you might get stranded far from home. The car will die suddenly when the battery drains.
Prevention Tips From a Pro Mechanic
Let me share what keeps charging systems healthy.
Regular Battery Maintenance
Clean your battery terminals every 6 months.
Check the cables for tightness. Look for corrosion building up.
This simple maintenance prevents many problems.
Test Your Battery Annually
Most auto parts stores test batteries free.
Get yours tested once a year. Replace it before it fails completely.
Batteries weaken slowly over time. Testing catches problems early.
Inspect Belts During Oil Changes
Ask your mechanic to check the serpentine belt every oil change.
Look for cracks, wear, or damage. Replace the belt at the first sign of problems.
Don’t wait until it breaks. A broken belt leaves you stranded.
Keep Electrical Loads Reasonable
Don’t overload your electrical system with aftermarket accessories.
Big sound systems, extra lights, and power inverters stress the alternator. Make sure your alternator can handle the load.
In my shop, we calculate total electrical draw before adding accessories.
Address Warnings Immediately
Never ignore dashboard warnings.
That “Check Charging System” message is serious. Get it diagnosed within a few days.
Early diagnosis prevents bigger, more expensive problems.
Ford Explorer Specific Issues
Some Explorer model years have known charging problems.
2011-2019 Explorers
These models sometimes have computer-related false warnings.
Ford issued several software updates for charging system glitches. Your dealer can install these updates.
I’ve seen many 2016-2017 Explorers with PCM issues causing false warnings.
2020+ Explorers
Newer Explorers use smart charging systems.
These systems are more complex. They adjust charging based on driving conditions.
This makes diagnosis trickier. You really need a good scan tool to check these systems properly.
When to Call a Mechanic
Call a professional if you see these signs:
Immediate mechanic visit needed:
- Voltage drops below 12 volts while driving
- Burning smell from under the hood
- Battery light stays on constantly
- Car struggles to start
- Multiple electrical problems at once
Don’t risk getting stranded. These symptoms mean something is failing right now.
Schedule an appointment soon:
- Warning appears occasionally then goes away
- Battery is older than 4 years
- You see belt damage
- Dimming lights at idle
- Strange alternator noises
These issues will get worse. Fix them before you’re stuck somewhere.
The Bottom Line
The “Check Charging System” warning means your Ford Explorer has a charging problem.
Most often, it’s a failing alternator or weak battery. Sometimes it’s just loose connections or a worn belt.
You can do basic checks yourself with simple tools. Test your battery voltage. Check connections. Inspect the belt.
But electrical problems can be tricky. Don’t hesitate to get professional help.
From years of experience, I can tell you this: Address charging system warnings quickly. Your car depends on electricity for everything.
Fix the problem now, or risk getting stranded later. It’s that simple.
The good news? Most charging system repairs are straightforward. They won’t drain your bank account like major engine work.
Take care of your Explorer’s charging system. It’ll take care of you.